Purpose: Use this guide to understand how learners are enrolled onto Events in Administrate and choose the correct enrollment workflow for your situation.
When a learner is added to an Event, Administrate creates a Registration. Registrations connect learners to Events and allow you to manage pricing, invoices, communications, attendance, and results.
Registrations may be created manually by administrators or automatically through booking and registration workflows.
Ways to add students
Administrators can enroll learners using several different workflows depending on how the learner information is available.
- Add students manually
Use this method when enrolling learners directly from the Event screen. - Add students by importing a CSV
Use this method to add multiple learners from an Account or Custom Report. - Add students via booking or registration
Use this method when learners are enrolled through booking workflows or registration processes. - Remove or transfer students
Use this article to cancel, edit, delete, or transfer learner registrations. - Troubleshoot adding students to an event
Use this guide when enrollment workflows do not behave as expected.
Named and unnamed students
Some enrollment workflows support both named and unnamed learners.
Named learners are associated with an existing Contact record and should be used when identity is known and reporting, communications, attendance, or certification depends on the person record.
Unnamed learners can be used when a booking is confirmed but learner names are not yet known. These provisional registrations can later be associated with real contacts once learner identities are confirmed.
Unnamed learners are commonly used for corporate bookings where organizations reserve seats before confirming the attendees.
Importing learners from Accounts or Reports
When enrolling larger groups, you can load contacts from an Account or Custom Report and review them before confirming enrollment.
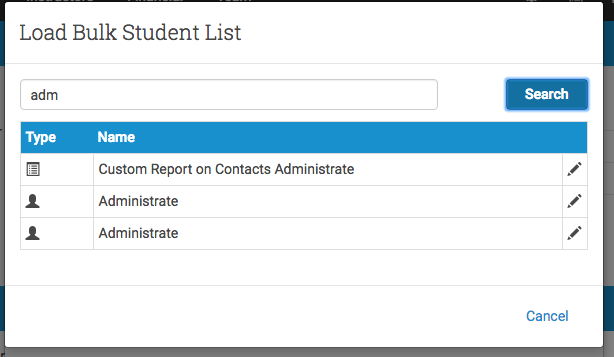
This workflow allows administrators to quickly enroll multiple contacts without manually adding each learner.
What happens after enrollment
Once a learner is added to an Event, the system creates a Registration that can be used to manage:
- invoices or payments
- training tokens or passes
- communications and confirmations
- attendance tracking
- results and certifications
Most operational actions after enrollment are managed from the Event’s Students tab.
For day-to-day administration, see Manage students for an Event.
Verify student communications
After enrolling learners, it is good practice to confirm that enrollment communications were sent successfully.
- Open the learner from the Event’s Students tab.
- Review the learner’s communications.
- Confirm that the On Registration trigger was delivered.
- Verify the message content and merge fields.
Note
Enrollment communications are priority-triggered and may take several minutes to appear as delivered.
Event capacity and the Course Template maximum
An Event’s maximum student count is copied from its Course Template when the Event is created, but it belongs to the Event afterwards. To exceed the template’s limit in an exceptional case, edit the Event and raise its maximum; registrations check the Event’s own maximum, not the template’s, so no template change is needed. Changing the template’s default affects future Events only.