This guide provides a step-by-step walkthrough for connecting to the LMS and WebLink APIs using Postman.
Contents
- WebLink authorization (guest user)
- WebLink and LMS authorization (authenticated user)
- Header required for querying the WebLink API
WebLink Authorization (Guest User)
Depending on your portal configuration, you may be able to access WebLink as a guest user.
Step 1: Retrieve a guest user token
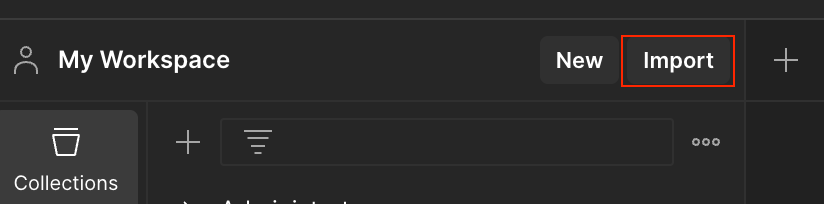
In Postman, click Import at the top left of the window.
In the box that opens, copy and paste the cURL below.
curl 'https://portal-auth.administratehq.com/portal/guest' \
-X POST \
-H 'Content-Type: application/json;charset=utf-8' \
--data-raw '{"domain": "<portalBaseUrl>"}'
Click the Body tab, replace portalBaseUrl with your portal, and then click Send.
For example: example.administrateweblink.com
Copy the token from the response.
Step 2: Use the guest user token
Select the Authorization tab of the request or environment where you want to use the token.
Change the auth type to Bearer Token and paste your token into the Token field.
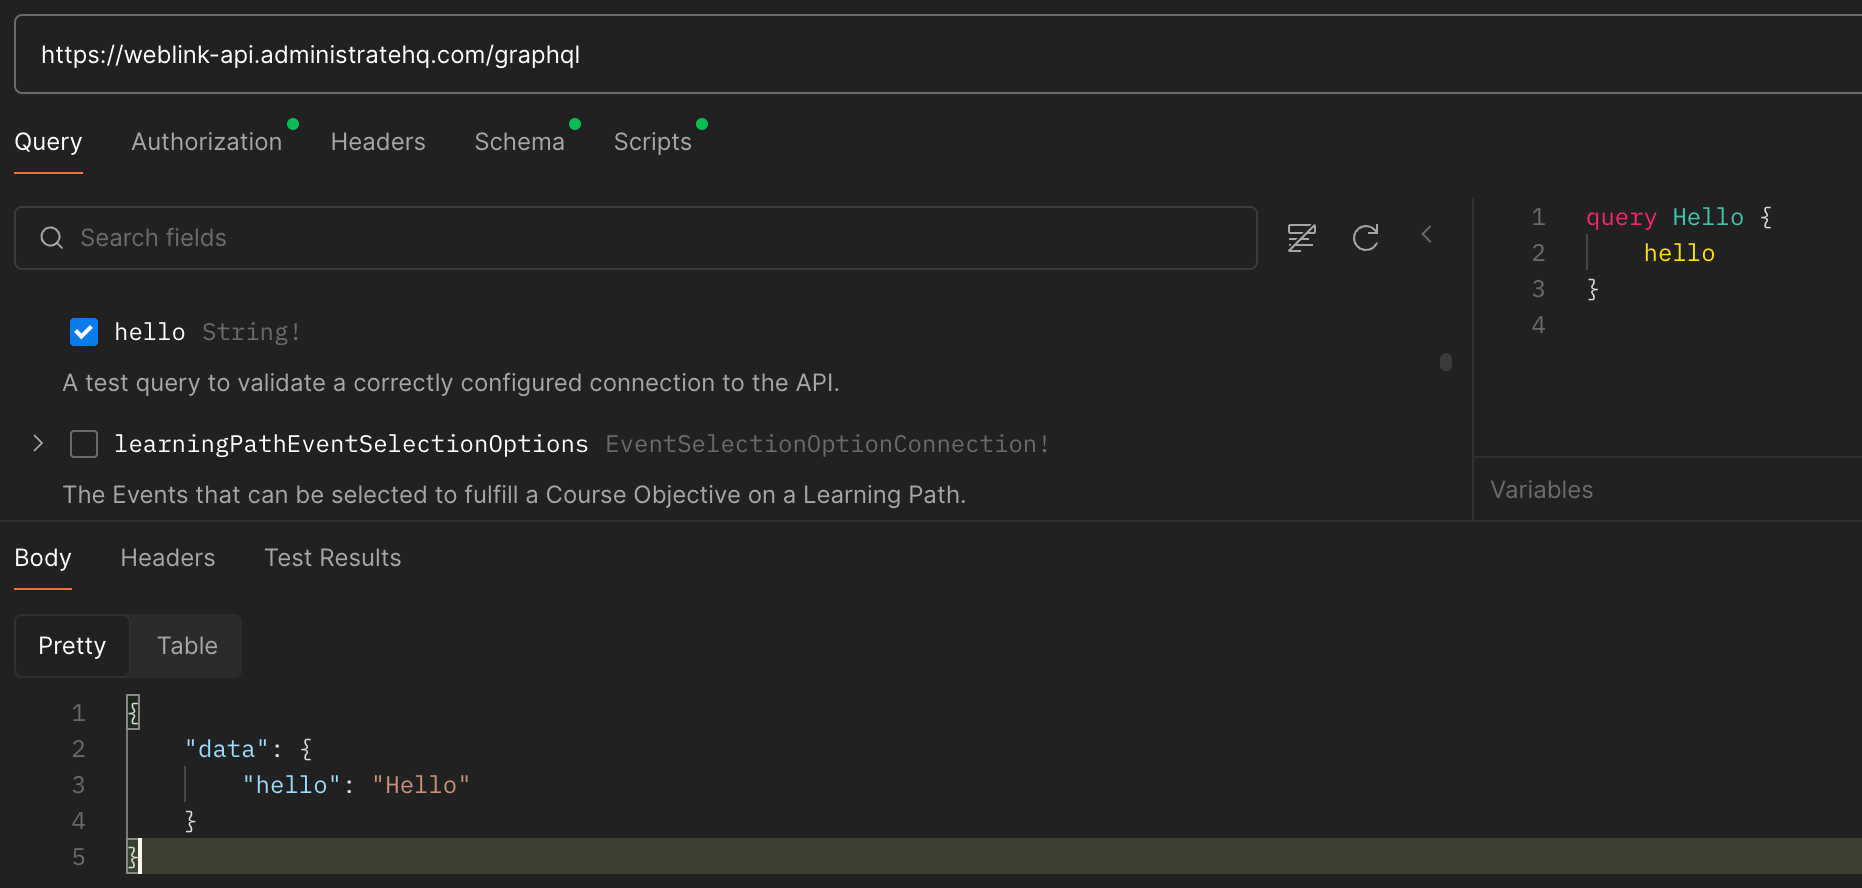
You can now access the WebLink GraphQL API, as shown in the example below.
WebLink & LMS Authorization (Authenticated User)
Step 1: Retrieve the portal configuration
First, access your portal configuration data using one of the following URLs:
- LMS:
https://your_portal.administratelms.com/config - WebLink:
https://your_portal.administrateweblink.com/config
In the returned data, note the following values:
- From the
idpsection:client_id
brand
Step 2: Create a new environment
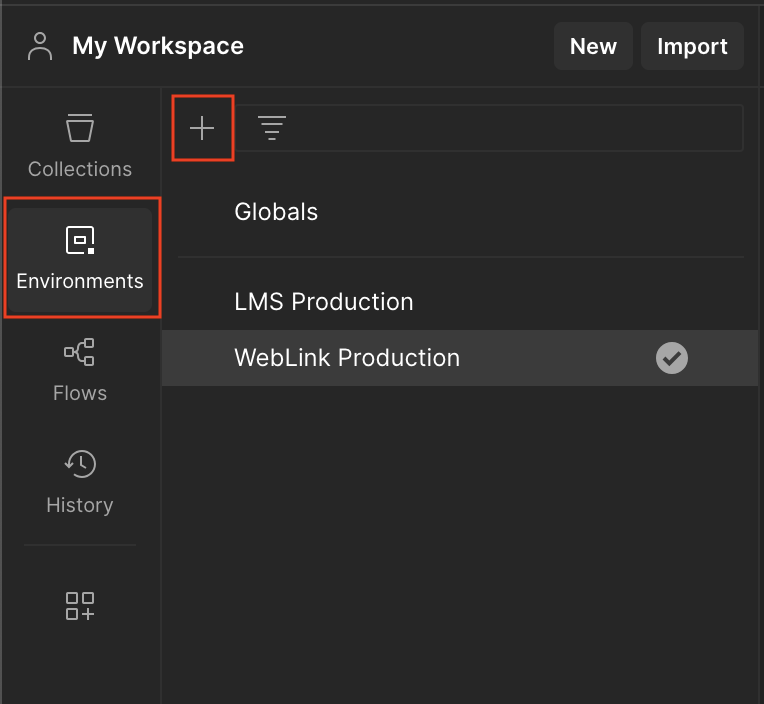
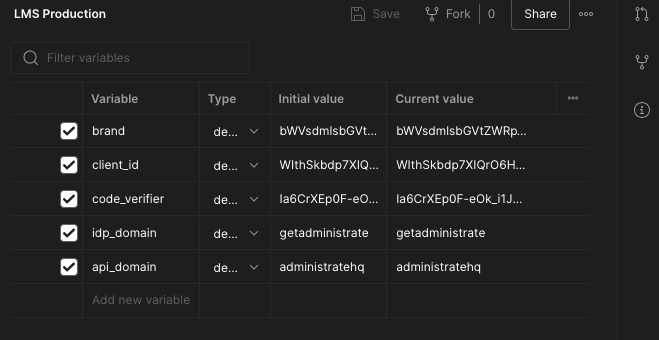
In Postman, create a new environment by selecting Environment > +.
Add the following environment values:
brand: use thebrandvalue you retrieved in step 1client_id: use theclient_idvalue you retrieved in step 1code_verifier: use a random, unique string that you chooseidp_domain:getadministrateapi_domain:administratehq
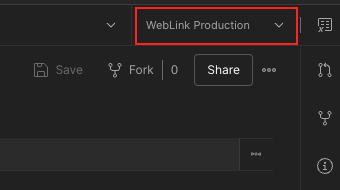
In the top right, set your new environment as the active environment.
Step 3: Create a collection and configure authentication
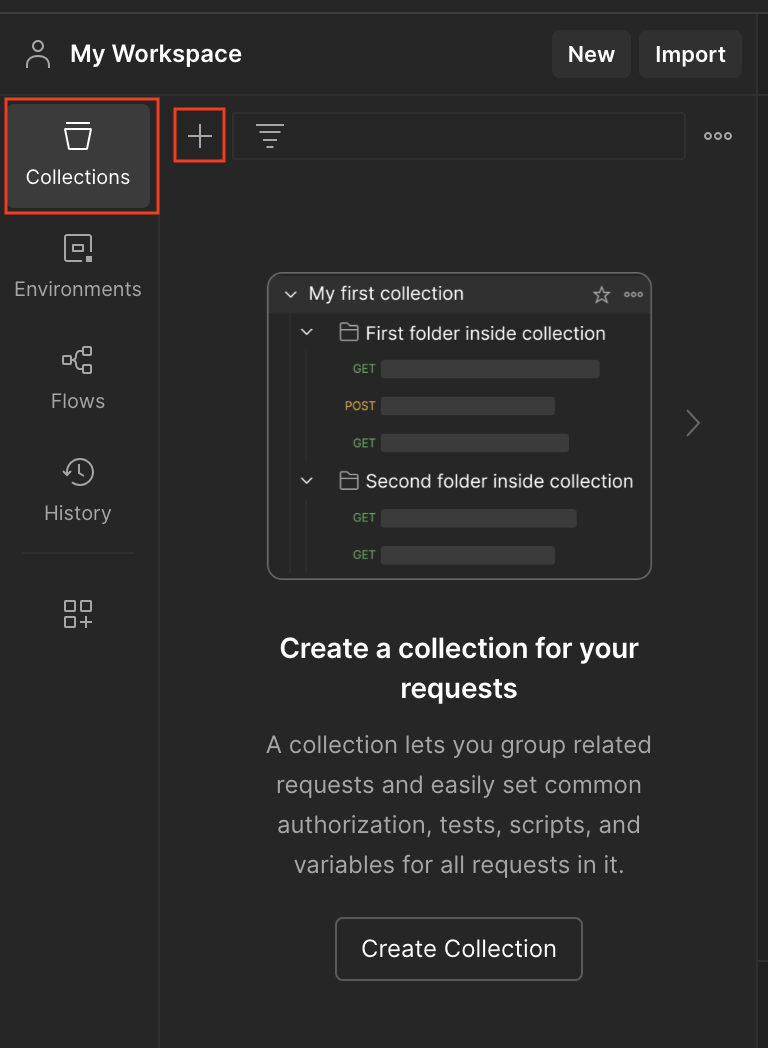
Create a new collection by selecting Collection > +.
Open the Authorization tab for the collection and set:
- Auth Type:
OAuth 2.0 - Add auth data to:
Request Headers
In the Configure New Token section, set the following values:
- Token Name:
<What_you_want_it_named> - Grant Type:
Authorization Code (With PKCE) - Callback URL:
https://postman-echo.com/get - Auth URL:
https://identity.{{idp_domain}}.com/authorize?brand={{brand}} - Access Token URL:
https://identity.{{idp_domain}}.com/token - Client ID:
{{client_id}} - Client Secret:
{{code_verifier}} - Code Challenge Method:
SHA-256 - Client Authentication:
Send as Basic Auth header
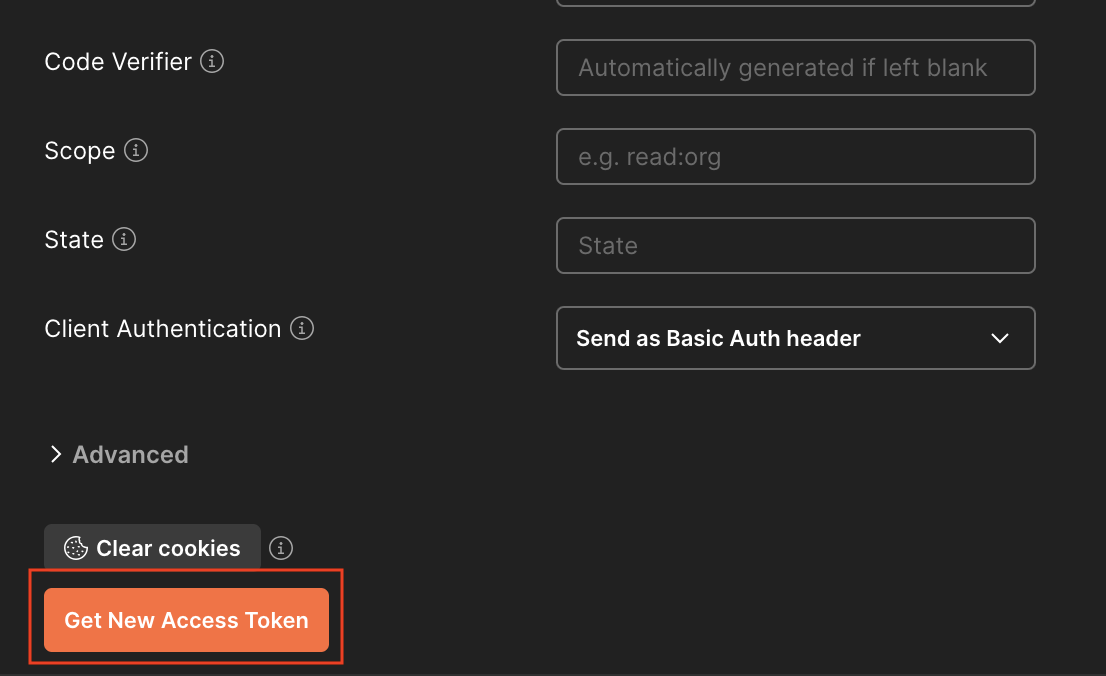
Select Get New Access Token.
Step 4: Log in
LMS only: You need a learner on that instance to log in.
Postman will display a window for you to log in as that LMS user.
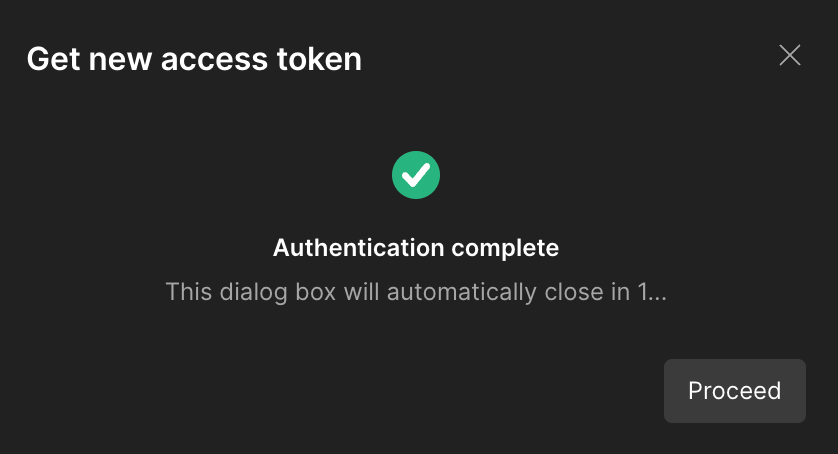
Once you log in, you should see the token window shown below.
WebLink only: After you select Get New Access Token, you will see this same token window.
Header Required for Querying Using WebLink API
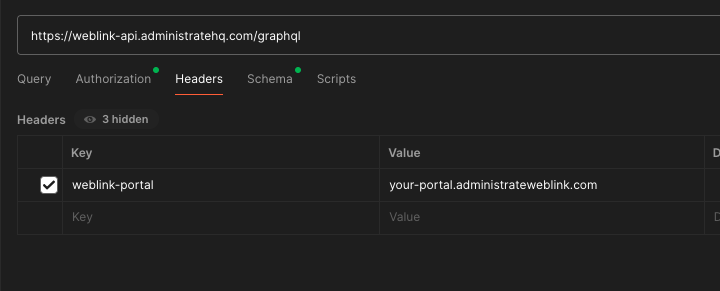
When querying the WebLink API, you must add the WebLink portal to your request headers.
- Key:
weblink-portal - Value:
your-portal.administrateweblink.com